
Google Maps is the tool most travelers already use for directions — but it can also work as a basic trip planner. You can save locations, create multi-stop routes, estimate travel times, and share an interactive map with your travel group. It’s not a replacement for a proper itinerary document, but it’s a powerful visual companion to one. For a more automated approach, an AI-powered trip planner can build your itinerary for you.
Here’s how to use Google Maps to build and organize a trip itinerary, plus where Google Maps falls short and what to pair it with for complete trip planning.
Method 1: Google My Maps (Best for Trip Planning)
Google My Maps is a free tool that lets you create custom maps with pins, routes, and layers. It’s the closest thing Google offers to a visual trip planner.
Step 1: Create a New Map
Go to mymaps.google.com and click “Create a New Map.” Name it after your trip (e.g., “Italy Trip 2026”). The map saves automatically to your Google Drive.
Step 2: Create Layers for Each Day
Click “Add layer” to create a layer for each day of your trip. Name them “Day 1 — Rome,” “Day 2 — Florence,” etc. Layers let you toggle days on and off so the map doesn’t get cluttered. You can also create layers by category: “Restaurants,” “Hotels,” “Activities.”
Step 3: Pin Your Locations
Search for each attraction, restaurant, hotel, or point of interest in the search bar. When it appears on the map, click “Add to map” to pin it to the active layer. Add notes to each pin: reservation time, opening hours, cost, or your personal notes (“John recommended this place”).
Step 4: Color-Code Your Pins
Click any pin and change its icon and color. Use a consistent system: blue for hotels, red for restaurants, green for activities, yellow for transportation. This makes the map scannable at a glance — you can immediately see your restaurant options near a particular attraction.
Step 5: Draw Routes Between Stops
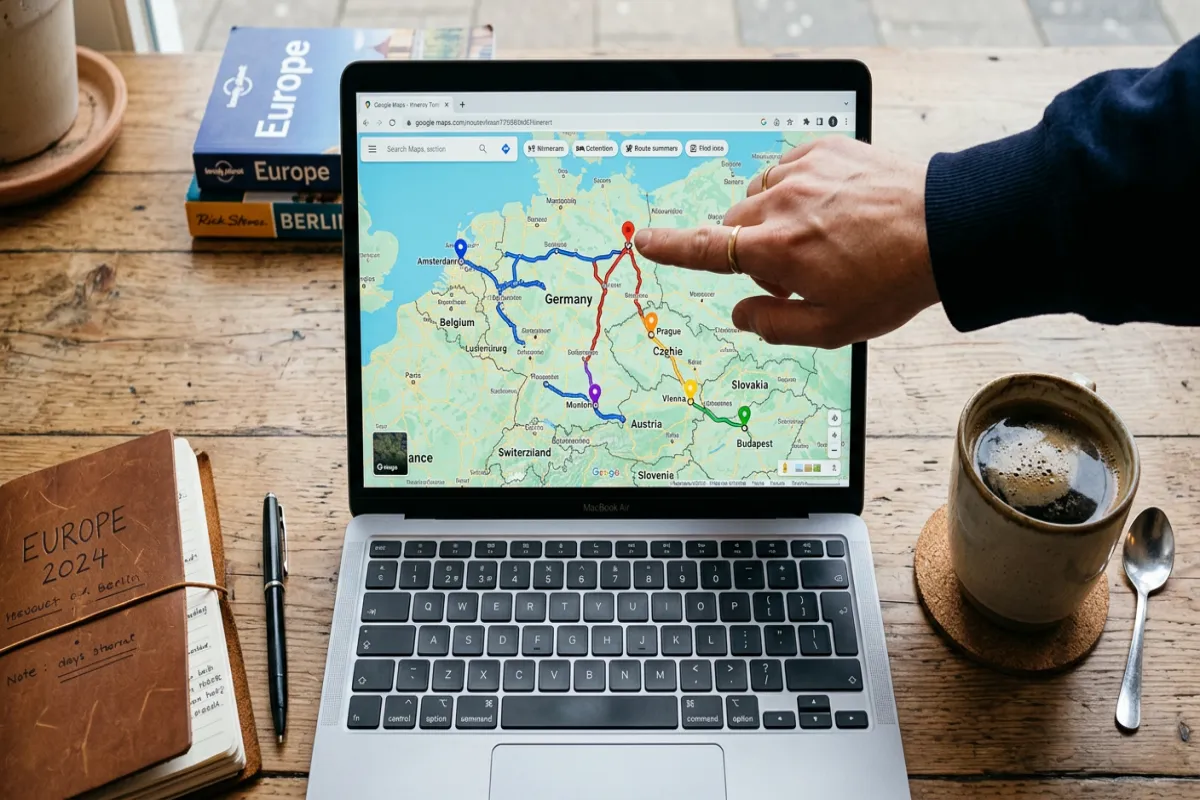
Click the directions icon under the search bar to create a route. Add your starting point and stops in order. Google My Maps shows the route line on the map with estimated drive time. This is especially useful for road trips — you can see your entire route visually and spot detours worth taking.
Step 6: Share the Map
Click “Share” to give your travel companions view or edit access. They can add their own pins and suggestions. The shared map works on phones through the Google Maps app — tap the menu, then “Your places,” then “Maps.”
Method 2: Google Maps Lists (Quick and Simple)
If Google My Maps feels like too much setup, you can use Google Maps’ built-in “Saved” lists for simpler trip organization.
Open Google Maps on your phone or desktop. Search for a place, then tap the “Save” button and choose a list (create a new one called “Barcelona Trip”). Repeat for every place you want to visit. Your saved list appears on the map as pins when you open it, giving you a visual overview of your trip without the full My Maps setup.
The limitation: lists don’t support layers, custom colors, routes, or notes beyond what Google Maps provides by default. For quick trip sketching, they’re fine. For detailed planning, use My Maps.
Plan Your Trip Today!
Get a complete, personalized trip template in seconds.
Take full control to customize every detail.
What Google Maps Can’t Do
Google Maps is excellent for visual route planning and location research, but it’s not a complete itinerary tool. It doesn’t handle:
- Time-based scheduling. You can’t assign specific times to pins or create a chronological day plan.
- Booking details. No place to store confirmation numbers, reservation times, or hotel check-in info.
- Budget tracking. No cost fields, budget categories, or spending logs. Itinerary generator tools can handle this automatically.
- Packing lists. No checklist functionality.
- Offline document access. The map requires internet to load (though you can download areas for offline navigation).
For these elements, pair your Google Maps trip map with a proper itinerary document. Use Google Maps for the visual planning and routing, then transfer the finalized plan into one of our free itinerary templates. The template becomes your day-by-day reference with all the details Google Maps can’t store. Grab an itinerary template to get started.
Combining Google Maps With an Itinerary Template
The best approach is to use both tools together. Start in Google My Maps to research and visualize your trip. Pin hotels, restaurants, and activities. Test routes and driving times. Then take that visual plan and organize it into a structured itinerary using one of these templates:
- Google Docs Itinerary — stays in the same Google ecosystem as your map
- Google Sheets Itinerary — adds budget tracking alongside your schedule
- Road Trip Itinerary — perfect pairing with Google Maps route planning
Export your final itinerary as PDF using the Yopki Travel Document Organizer for offline access — because the one time you’ll need your itinerary most is when you don’t have Wi-Fi.
FAQ
Can I use Google Maps as a trip planner?
Yes, but with limitations. Google My Maps works well for visual route planning, pinning locations, and sharing trip maps. For the full process, see our complete trip planning guide. It doesn’t handle time-based scheduling, booking details, budgets, or packing lists. For a complete trip plan, pair Google Maps with an itinerary template.
How many stops can I add to a Google Maps route?
Google Maps directions support up to 10 stops (including start and end points). Google My Maps supports unlimited pins per layer but routes are limited to 10 waypoints per route. For road trips with more than 10 stops, create multiple routes on separate layers.
Can I access my Google Maps trip offline?
You can download map areas for offline navigation in the Google Maps app, but your custom My Maps pins and layers require internet to load. For reliable offline access to your itinerary details, export your plan to a PDF document.
Is Google My Maps free?
Yes, completely free. You need a Google account, and maps are saved to your Google Drive. There’s no premium tier or usage limits for personal trip planning.