
Why Solo Travel Is Worth the Nerves
Solo travel sounds intimidating until you actually do it. Then it becomes the most freeing way to see the world.
You eat when you’re hungry. You skip the museum when you’d rather wander a neighborhood. You change plans on a Tuesday afternoon because the weather is perfect for a coastal hike instead of a city day. Nobody needs to be consulted.
But the freedom only works if the logistics are solid. A bad hostel, a missed connection, or a blown budget hits differently when there’s no one to split the cost or the stress with. This guide covers the practical side: how to pick the right destination for your experience level, build a realistic budget for one, set up safety systems that actually work, and structure your days so you get both adventure and downtime. See our solo female travel safety tips.
Choosing a Destination That Matches Your Experience Level
Not every destination is equally suited for every solo traveler. Your experience level, comfort with language barriers, and travel style should drive the decision.
First-time solo travelers
Start somewhere with strong tourist infrastructure, reliable public transit, and widespread English. Cities like Lisbon, Tokyo, Melbourne, Edinburgh, or Vancouver check every box. You’ll spend zero energy figuring out basic logistics, which frees you up to actually enjoy the trip.
A domestic trip works too. Three to five days exploring a U.S. city you’ve never visited removes the passport, language, and currency variables entirely.
Experienced solo travelers looking for more challenge
Once you’ve done a few solo trips, you can handle destinations with less hand-holding. Consider places like Colombia (Medellin, Cartagena), Vietnam, Morocco, or rural Japan. The infrastructure is good but not always in English, which makes navigation part of the adventure.
Budget-focused solo travelers
Southeast Asia (Thailand, Vietnam, Indonesia) and parts of Central America (Guatemala, Mexico’s Oaxaca region) offer excellent value at $40-70 per day including accommodation, food, and local transport. The backpacker infrastructure in these regions means you’ll meet other travelers easily.
Solo travelers who want to meet people
Lisbon, Bali, Bangkok, Medellin, and Budapest have strong hostel scenes, co-working spaces, and organized social activities. If connecting with other travelers matters to you, pick a city known for its social backpacker culture rather than a quiet countryside retreat.
For help narrowing it down, Yopki’s AI travel planner can generate a full itinerary for any destination so you can see what a trip would actually look like before you commit.
You can also browse activities and attractions by city to research what each destination offers before booking.
Building a Realistic Solo Travel Budget
The biggest budgeting difference between solo and group travel is accommodation. When you travel with someone else, you split the room. Alone, you pay the full rate. Everything else, food, transport, activities, stays roughly the same.
The solo budget formula
Here’s a simple framework. Add up these daily costs for your destination, then multiply by the number of days:
- Accommodation: Full room rate (hostel dorm: $15-35/night, budget hotel: $60-120/night, mid-range hotel: $120-200/night)
- Food: $20-50/day for budget travel, $50-100/day for mid-range
- Local transport: $5-20/day depending on city
- Activities: $10-40/day average
- Emergency buffer: Add 15% to the total
Daily benchmarks by region (mid-range, 2026)
- Southeast Asia: $40-70/day
- Eastern Europe: $60-100/day
- Western Europe: $100-180/day
- USA/Canada: $120-200/day
- Japan/Australia: $100-180/day
- Central America: $40-80/day
That 15% emergency buffer is important for solo travelers specifically. When you’re with a group, you can borrow cash, split an unexpected cab, or share a last-minute room change. Alone, every surprise cost is 100% yours.
For domestic trip budgeting strategies, see our guide on how to save money traveling the USA.
Setting Up Your Safety Net
Solo travel safety isn’t about being paranoid. It’s about having systems in place so that if something goes wrong, someone knows where you are and you have what you need.
Before you leave
- Register with STEP (Smart Traveler Enrollment Program) if you’re a U.S. citizen. It takes five minutes at step.state.gov. You’ll get security alerts for your destination, and the nearest embassy will know you’re in-country if there’s an emergency.
- Share your full itinerary with at least one person at home. Include flight numbers, hotel names and addresses, and a daily check-in schedule. A shared Google Doc works well for this, or use Yopki’s sharing feature to give them real-time access to your plan.
- Make document copies. Photograph your passport, travel insurance card, credit cards (front and back), and driver’s license. Email these to yourself and store them in a secure cloud folder. Carry one paper copy separately from the originals.
- Get travel insurance. This is non-negotiable for solo travelers. A broken ankle or stolen laptop is manageable with insurance. Without it, you’re looking at thousands out of pocket in a foreign country with no one to help navigate the system.
While traveling
- Check in daily with your contact at home. A simple text is fine. The point is that someone notices if you go silent.
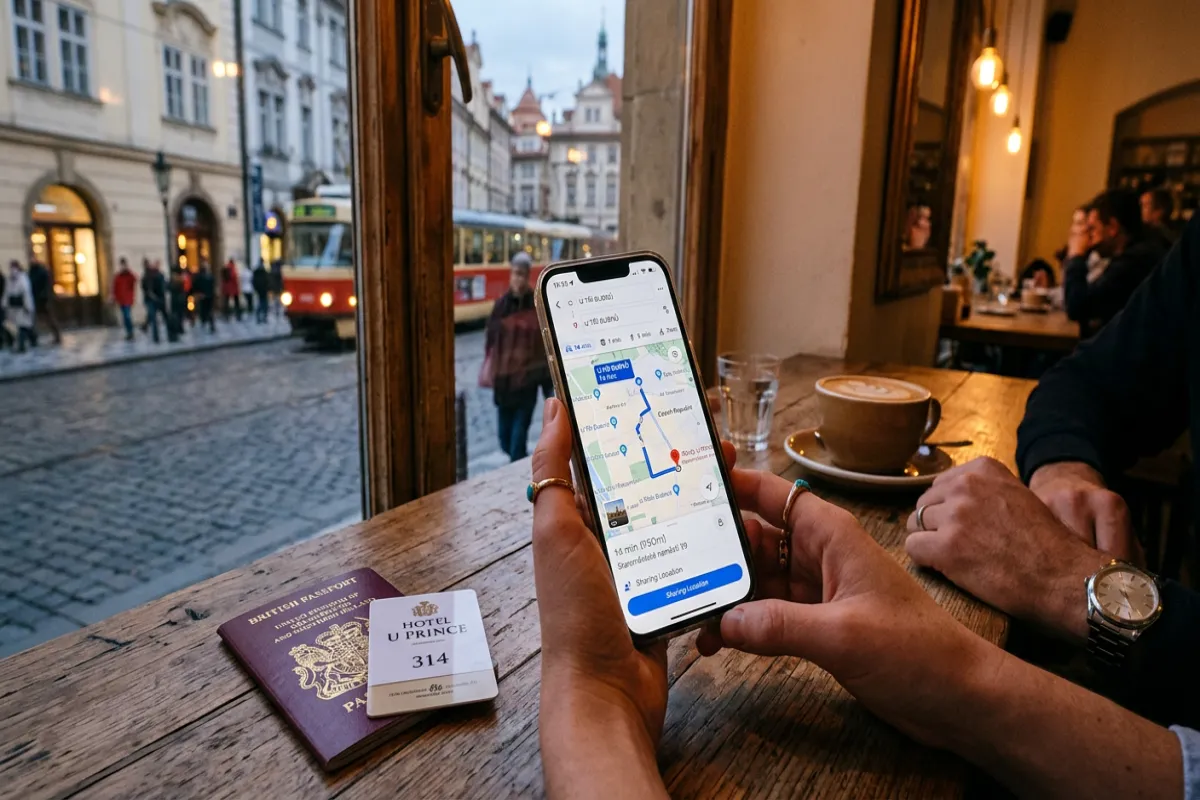
- Share your live location with a trusted person using Google Maps or Apple’s Find My. This runs quietly in the background and requires zero effort after setup.
- Trust your instincts. If a situation feels off, leave. You don’t owe anyone an explanation. Solo travelers who trust their gut and remove themselves early avoid the vast majority of bad situations.
- Keep your phone charged. Carry a portable battery. Your phone is your map, translator, payment method, and emergency lifeline rolled into one.
Planning Your Itinerary: The 60/40 Rule
The biggest mistake solo travelers make with itineraries is overscheduling. When you’re alone, decision fatigue hits faster because every choice, from where to eat lunch to which subway line to take, falls on you.
The 60/40 rule fixes this: plan about 60% of each day and leave 40% open.
The structured 60%:
- Morning activity (museum, hike, walking tour)
- Lunch at a researched spot
- One afternoon activity or neighborhood to explore
The open 40%:
- Time to wander, stumble into a bookshop, sit in a park, or follow a recommendation from someone you meet at breakfast
- Buffer for when that “one hour” museum visit turns into three
- Space to simply rest. Solo travel is stimulating, and you need downtime more than you think.
Build your framework with Yopki’s AI planner, then delete about a third of what it generates. That’s your 60/40 sweet spot.
For a deeper dive on structuring a full trip, check out our complete guide to trip planning.
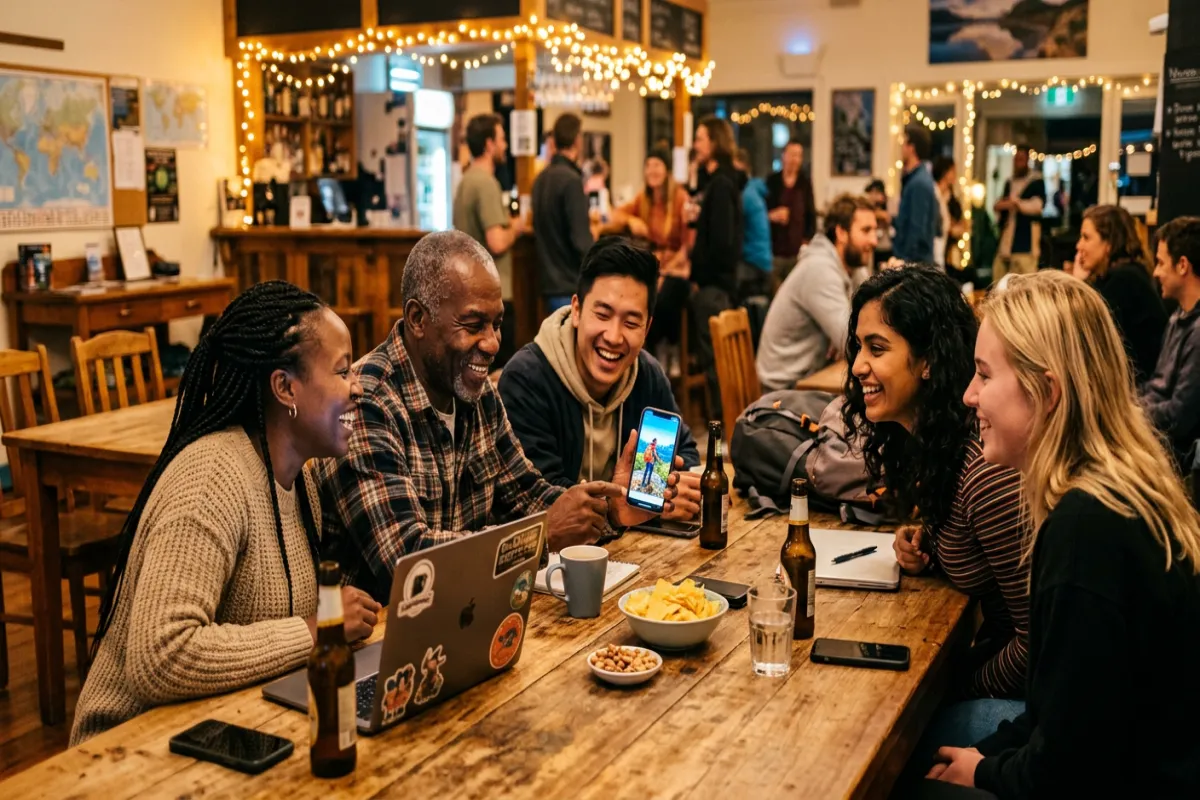
How to Meet People When Traveling Solo
Loneliness is the most common concern people have about solo travel. The reality is that solo travelers often meet more people than group travelers do, because you’re approachable and available in a way that a group of four friends isn’t.
Proven ways to connect:
- Stay in hostels (even private rooms). The common areas, kitchens, and organized events are built for meeting people. You don’t have to sleep in a 12-bed dorm to benefit from the social atmosphere.
- Take free walking tours. Most major cities have them. You’ll walk with a group for two to three hours, and it’s natural to grab coffee or lunch with someone afterward.
- Eat at the bar. Restaurant bars and counter seating put you next to other solo diners and locals. It’s far more social than a table for one in the corner.
- Join group activities. Cooking classes, pub crawls, day trips, and guided hikes attract solo travelers specifically because they want to meet people.
- Use apps. Meetup, Couchsurfing Hangouts, and Bumble BFF all work for finding people to share a meal or an afternoon with. Facebook groups for specific destinations are surprisingly active.
- Co-working spaces. If you’re working remotely, these are goldmines for meeting other travelers and locals. Even buying a day pass can lead to dinner invitations.
Solo Dining: How to Eat Alone Without It Feeling Weird
Eating alone is the part of solo travel that trips people up the most. Here’s how to make it comfortable:
- Go early. Restaurants at 6:00 PM are relaxed and half-empty. By 8:00 PM they’re full of groups, and you feel more conspicuous. Early dining also means better service and no wait.
- Sit at the bar or counter. Bartenders talk to you. Other solo diners sit there too. It’s inherently more social than a table.
- Embrace street food and markets. Food halls, night markets, and street food stalls are naturally solo-friendly. There’s no awkward “just one?” moment. You order, you eat, you move to the next stall.
- Bring something to do. A book, a journal, or your phone with a podcast. Having something in front of you removes the self-consciousness of staring at a wall. After a few solo meals, you won’t need the prop anymore.
- Ask for recommendations. Tell your server you’re traveling solo and ask what they’d order. It starts a conversation and you’ll usually get better food than picking randomly from the menu.
15 Practical Solo Travel Tips
- Book your first night’s accommodation in advance. Arriving somewhere new alone is stressful enough without hunting for a place to sleep.
- Arrive during daylight. Book flights and trains that get you to new cities before dark. Navigating unfamiliar streets is easier and safer in daylight. See our first time flying guide.
- Pack lighter than you think. You carry everything yourself. There’s no one to watch your bag while you run to the bathroom. One carry-on-sized bag changes the entire experience.
- Carry a doorstop. A $3 rubber doorstop adds an extra layer of security to any hotel or hostel room door.
- Learn five phrases in the local language. Hello, thank you, excuse me, how much, and where is. Even bad pronunciation earns goodwill.
- Download offline maps. Google Maps lets you download entire city maps for offline use. Do this before you leave your hotel each morning.
- Use a money belt or hidden pouch for your passport and backup credit card. Keep your daily spending money in a regular wallet.
- Take photos of your hotel’s address in the local script. If you need a cab back and can’t pronounce the street name, you can show the photo.
- Eat a big breakfast. Most hotels include it, and starting your day full means you can snack through lunch and save the restaurant experience for dinner.
- Schedule rest days. Every three to four days of active sightseeing, build in a slow morning or a full rest day. Solo travel burnout is real.
- Keep a small journal. Even just bullet points. Solo experiences fade fast when there’s no one to retell them to. Writing them down makes the trip stick.
- Carry a headlamp. Useful for hostel dorms, overnight buses, early morning hikes, and power outages. Weighs nothing.
- Book experiences, not just sights. A cooking class in Oaxaca or a sake tasting in Tokyo is more memorable than another museum, and more social.
- Have two payment methods. A primary credit card and a backup debit card from a different bank. If one gets blocked or stolen, you’re not stranded.
- Consolidate everything into one app. Flight confirmations, hotel bookings, daily plans, emergency contacts. Having it all in one place, like Yopki, means you’re not fumbling through six apps while standing at a train station. Check our travel essentials guide for a complete packing and prep checklist.
Frequently Asked Questions
Is it safe to travel alone?
Yes, solo travel is safe when you prepare properly. Millions of people travel alone every year. Key precautions include sharing your itinerary with someone at home, registering with your embassy (STEP for U.S. citizens), carrying copies of important documents, staying aware of your surroundings, and researching neighborhood safety before booking accommodation. Solo travel to destinations with strong tourist infrastructure, like Japan, Portugal, New Zealand, and most of Western Europe, carries comparable risk to traveling with a group.
How do I start solo traveling?
Start with a short trip (3-5 days) to a destination with good English proficiency, reliable public transit, and strong tourist infrastructure. Cities like Lisbon, Tokyo, Melbourne, or Vancouver are excellent first solo trips. Book a well-reviewed hostel or centrally located hotel, plan a loose daily itinerary, and focus on activities you genuinely want to do. Many first-time solo travelers find that a domestic trip removes enough variables to build confidence.
What is the best destination for solo travel?
It depends on your priorities. For safety and ease: Japan, Iceland, Portugal, and New Zealand consistently rank highest. For budget travelers: Thailand, Vietnam, Mexico (Oaxaca, Merida), and Colombia offer excellent value at $40-70/day. For meeting other travelers: Lisbon, Bali, Medellin, and Bangkok have strong hostel and co-working scenes. For first-timers: domestic trips or destinations like the UK, Canada, or Australia minimize language and cultural barriers.
How much money do you need for solo travel?
Solo travel budgets vary significantly by destination. Budget solo travel in Southeast Asia runs $40-60/day (hostel, street food, local transport). Mid-range solo travel in Western Europe costs $100-180/day (private hotel room, restaurant meals, museums). A comfortable solo trip in the U.S. or Japan runs $120-200/day. The biggest cost difference vs. group travel is accommodation, since you pay the full room rate instead of splitting it. Budget an extra 15% as a solo emergency buffer.
Your Solo Trip Starts with a Plan
The difference between a great solo trip and a stressful one almost always comes down to preparation. Not over-planning, just having the right foundation: a realistic budget, a safety system, a flexible itinerary, and the confidence that comes from knowing you’ve thought through the logistics.
Start by generating a quick itinerary with Yopki’s AI travel planner. Seeing a full day-by-day plan for your destination makes the trip feel real and helps you spot potential issues (budget gaps, overscheduled days, missing rest time) before you book anything.
Then trim it back to 60%, pack light, and go.